Imagine transforming your shaggy dog into a sleek, sweet-smelling companion without leaving your property. Sounds like a tall order? Not anymore! Welcome to the world of DIY dog grooming, where a little know-how goes a long way. Whether you’re looking to save a few dollars or simply enjoy some quality time with your furry friend, this guide will have your pup looking pawsome in no time.
The Grooming Toolkit: Your Canine Spa Essentials
Before we dive in, let’s talk tools. You wouldn’t build a deck without a hammer, and you can’t groom a dog without the right equipment. Here’s your shopping list:
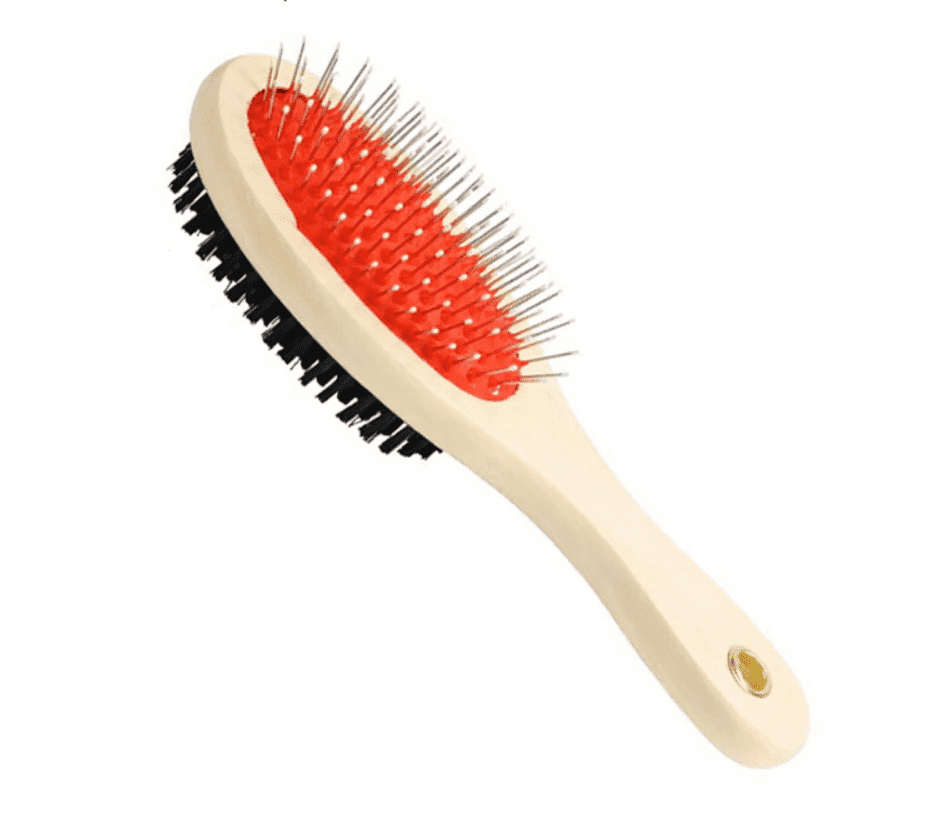
- Brushes and combs (slicker brush, pin brush, and metal comb)
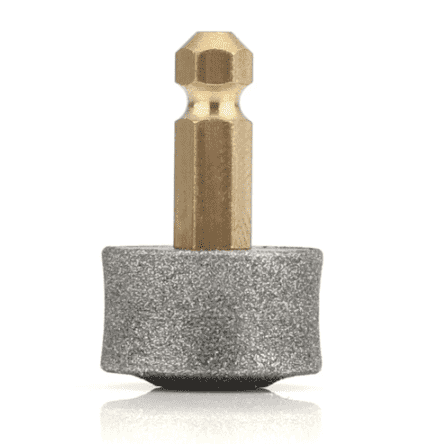
- Nail clippers or grinder
- Dog-specific shampoo and conditioner
- Towels and a blow dryer (if your dog allows it)
- Scissors or clippers (for long-haired breeds)
- Ear cleaner and cotton balls
- Toothbrush and dog toothpaste
Pro tip: Invest in quality tools. They’ll last longer and make the job easier.
Brush Hour: More Than Just a Beauty Treatment
Brushing isn’t just about making your dog look good – it’s a health check, massage, and bonding session all rolled into one. Here’s how to make the most of it:
- Start with a thorough brush before bathing. This removes loose fur and prevents matting.
- Use long, gentle strokes in the direction of hair growth.
- Pay extra attention to areas prone to matting: behind the ears, under the legs, and the base of the tail.
- For double-coated breeds, invest in an undercoat rake to prevent shedding.
Remember, regular brushing means less fur on your furniture and fewer trips to the groomer!
Splash Time: The Art of the Perfect Dog Bath
Bathing your dog can be a comedy of errors or a soothing spa experience. Here’s how to aim for the latter:
- Choose the right location. A bathtub works for small dogs, but larger breeds might be easier to manage outside with a hose.
- Use lukewarm water and wet your dog thoroughly before applying shampoo.
- Start at the neck and work your way down, being careful to avoid the eyes and ears.
- Rinse, rinse, and rinse again. Leftover shampoo can irritate your dog’s skin.
- Don’t forget to wash the paws – they collect all sorts of grime on walks.
Kiwi hack: In summer, consider setting up a kiddie pool in the backyard for a fun, mess-free bathing experience.
The Nail-Biting Part: Trimming Those Talons
Many dogs (and owners) dread nail trimming, but it doesn’t have to be a horror show. Follow these steps:
- Get your dog used to having their paws handled. Practice touching and holding their paws when relaxing.
- Use treats to create positive associations with the nail clippers or grinder.
- Trim a little at a time. It’s better to be cautious than to cut the quick (the blood vessel in the nail).
- If you’re nervous, ask your vet to demonstrate the technique.
Remember, regular walks on concrete can help naturally file down nails.
Ear Care: Listen Up!
Clean ears are happy ears. Here’s how to keep them that way:
- Check your dog’s ears weekly for redness, odour, or discharge.
- Use a veterinarian-approved ear cleaner and cotton balls (never Q-tips).
- Gently wipe the visible part of the inner ear, being careful not to go too deep.
- For floppy-eared breeds, pay extra attention as they’re more prone to ear infections.
Dental Duties: Keeping Those Pearly Whites Gleaming
Don’t forget about dental hygiene! Here’s a quick guide:
- Introduce tooth brushing gradually, starting with letting your dog lick a bit of dog toothpaste off your finger.
- Use a dog-specific toothbrush and toothpaste (never human toothpaste).
- Aim to brush a few times a week, focusing on the outer surfaces of the teeth.
- Dental chews and toys can supplement brushing but shouldn’t replace it entirely.
The Finishing Touches: Trimming and Styling
For long-haired breeds, a little trimming goes a long way:
- Start with a clean, dry, well-brushed coat.
- Use rounded-tip scissors to trim around the paws, ears, and tail.
- For full-body clips, consider investing in professional-grade clippers.
- When in doubt, less is more. You can always trim more, but you can’t put it back!
Conclusion:
Congratulations! You’re now equipped with the knowledge to keep your furry friend looking and feeling fantastic. Remember, grooming is as much about bonding as it is about hygiene. Take it slow, be patient, and don’t be afraid to call in the professionals for a refresher course. With practice, you’ll be a DIY grooming pro in no time, saving money and strengthening your bond with your four-legged friend. Now, go forth and groom – your dog (and your wallet) will thank you!
Our Products
Grooming Glove For Cats & Dogs
$15.00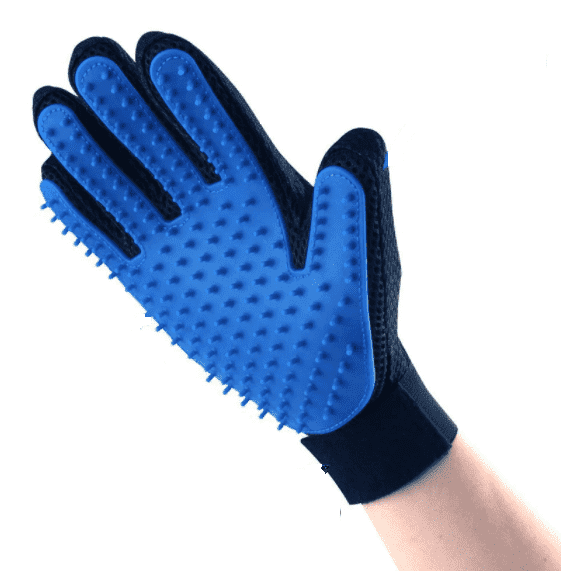 Select options
This product has multiple variants. The options may be chosen on the product page
Select options
This product has multiple variants. The options may be chosen on the product page